
Here is an easy way to set up your Solana wallet to stake your tokens with Solflare_wallet and the Ledger Nano:
- Use “Manager” in Ledger Live to install the Solana App.
- Click on your device (Ledger Nano) in the Solana App and make sure it says “Application is ready”.
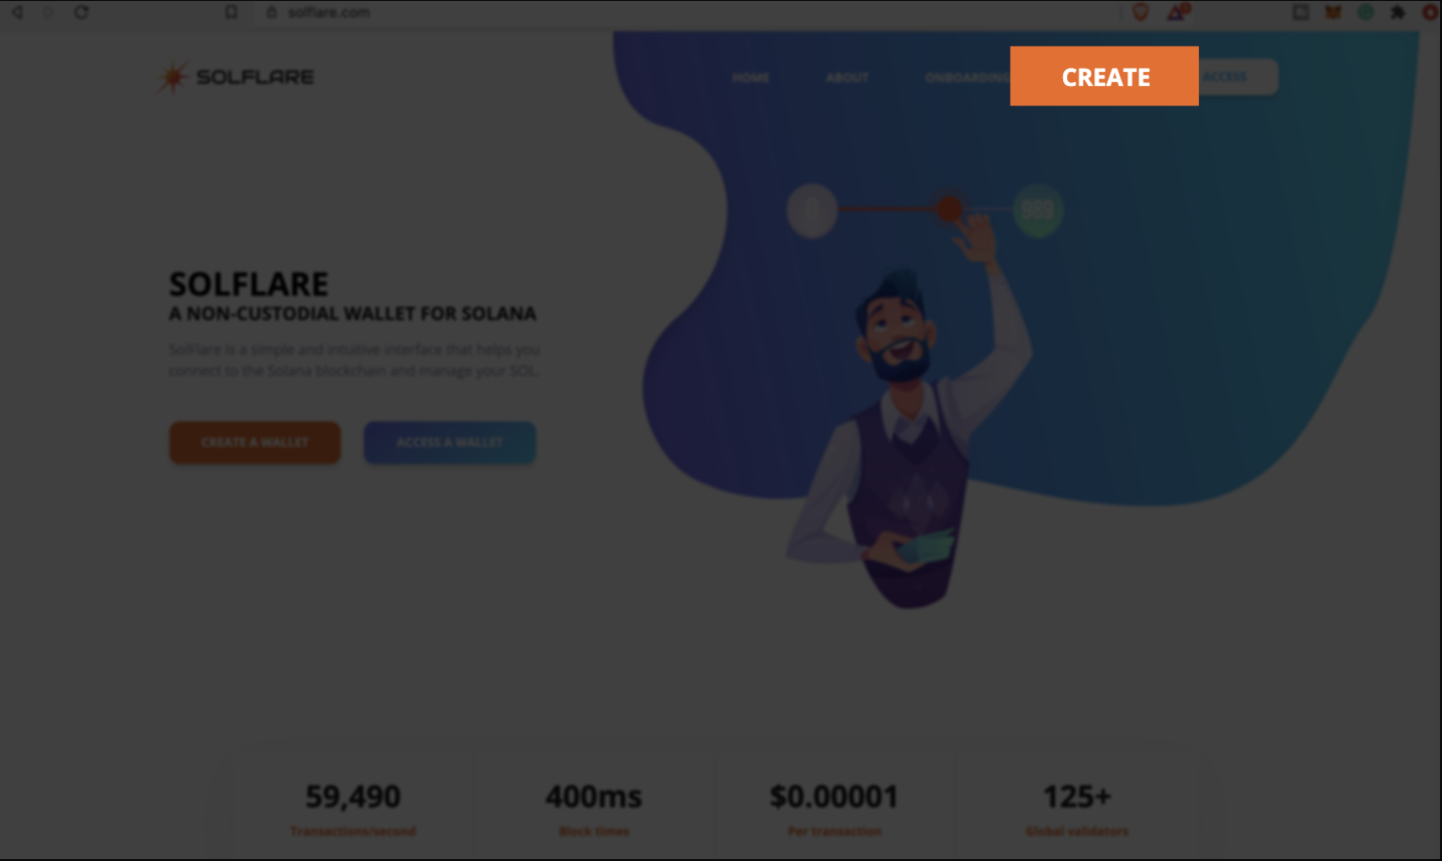
- Go to solflare.com and create a wallet.
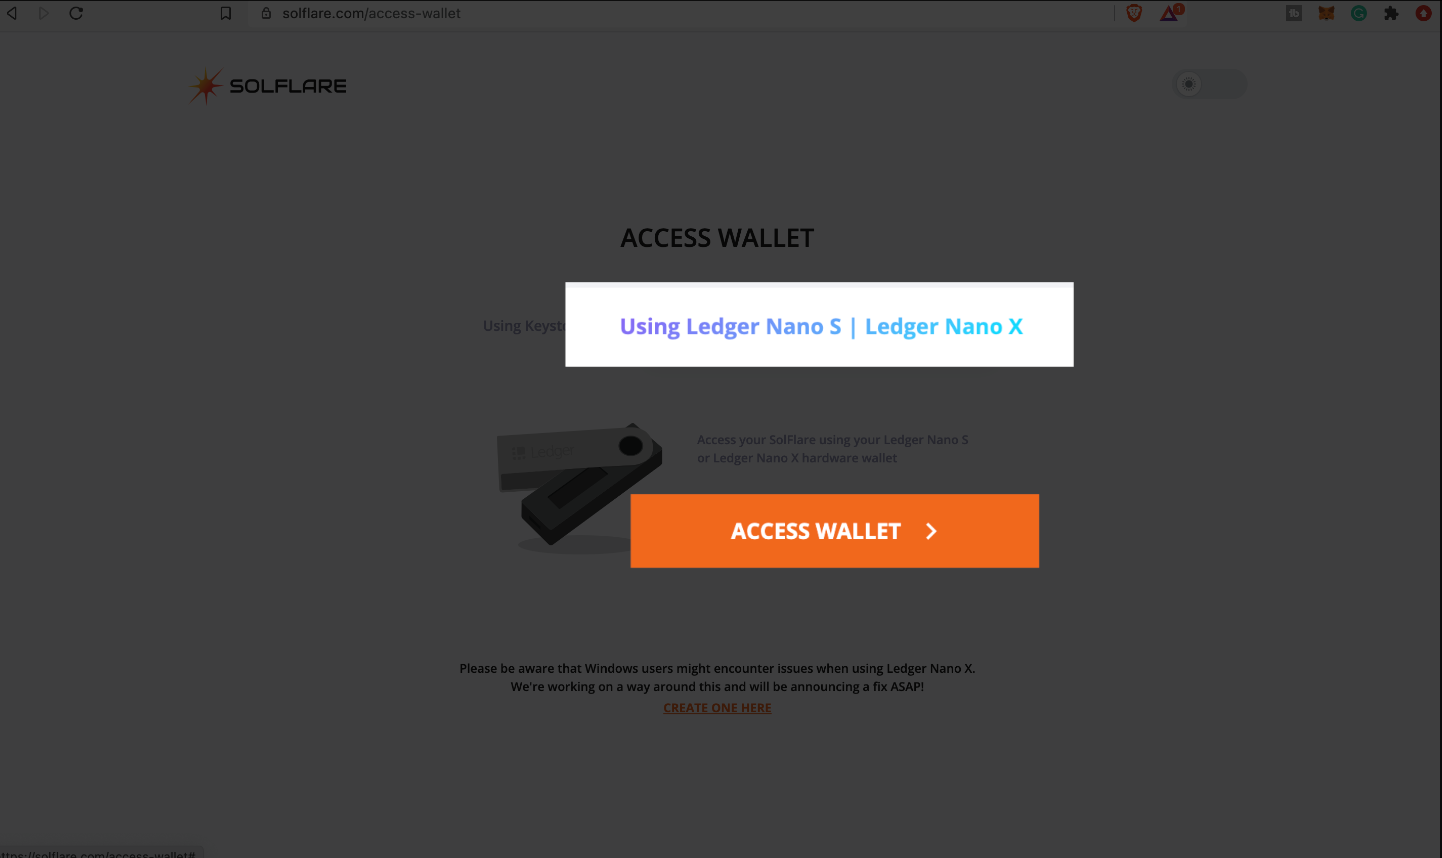
4. Click on “Using Ledger Nano S/Ledger Nano X” then click on “Access Wallet”.
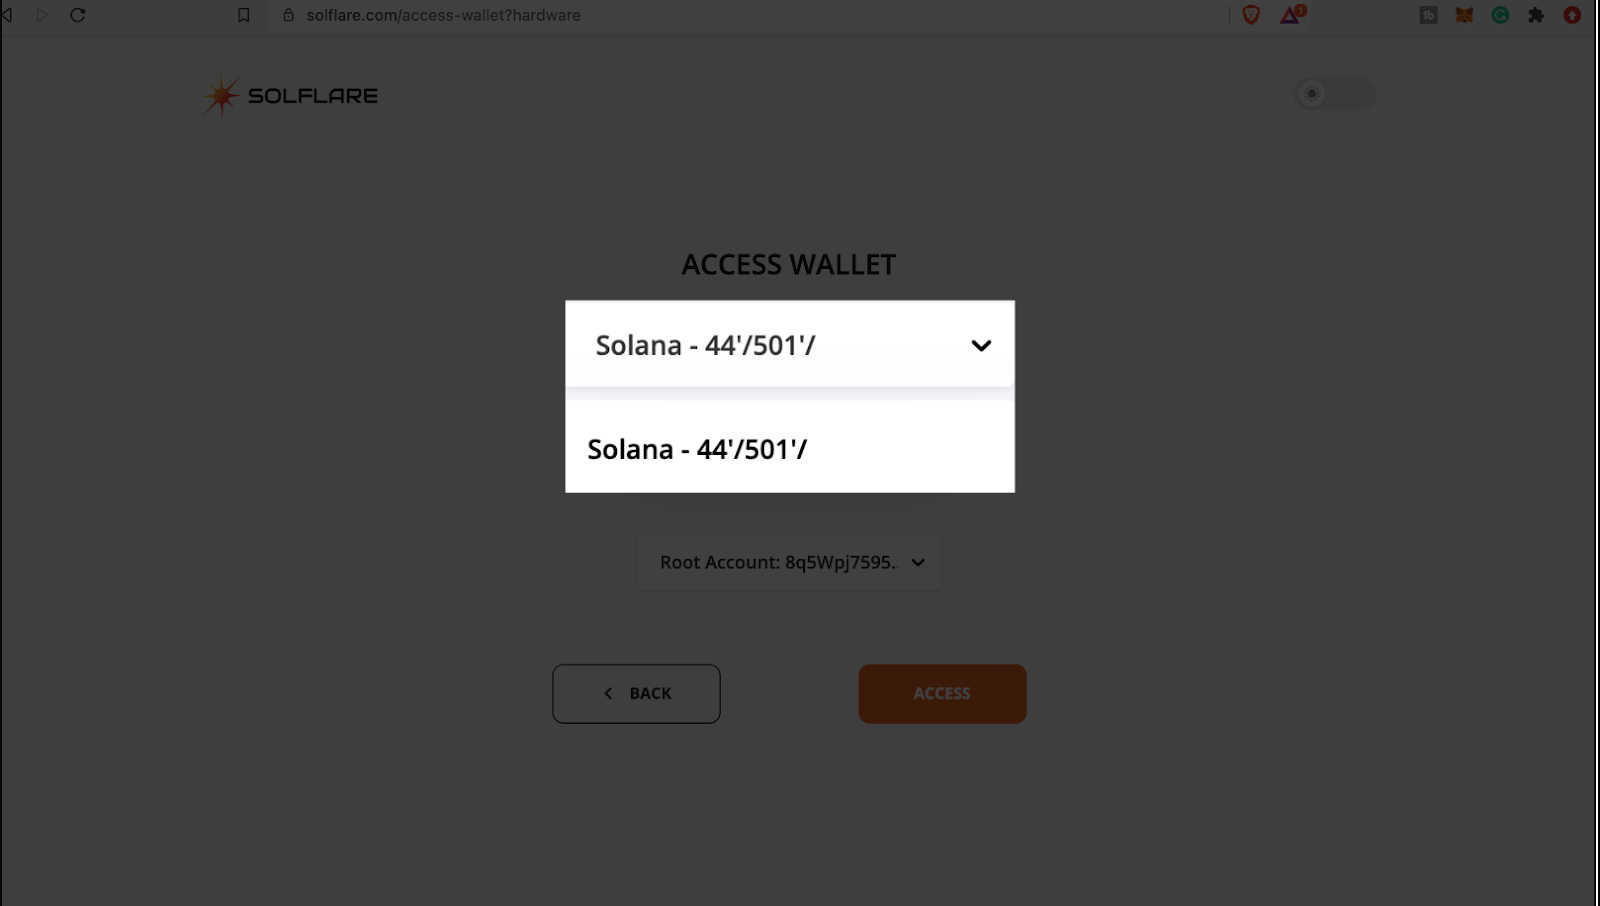
5. Click on “Select Derivation Path” there is just one option: 44’/501’/
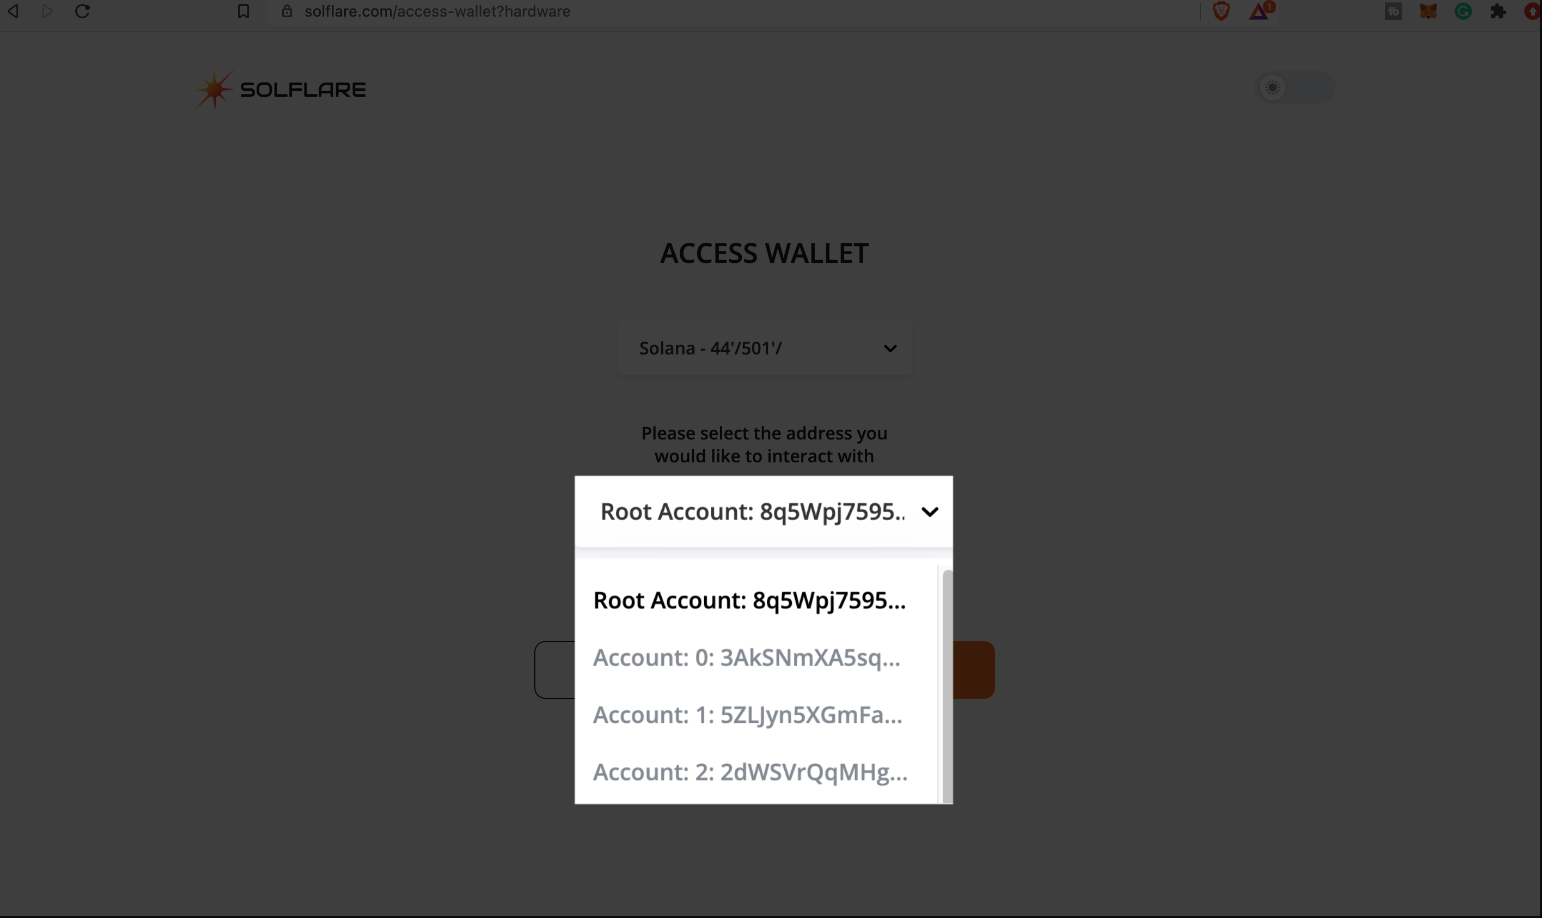
6. Click and select an address then click on access and approve on your device.
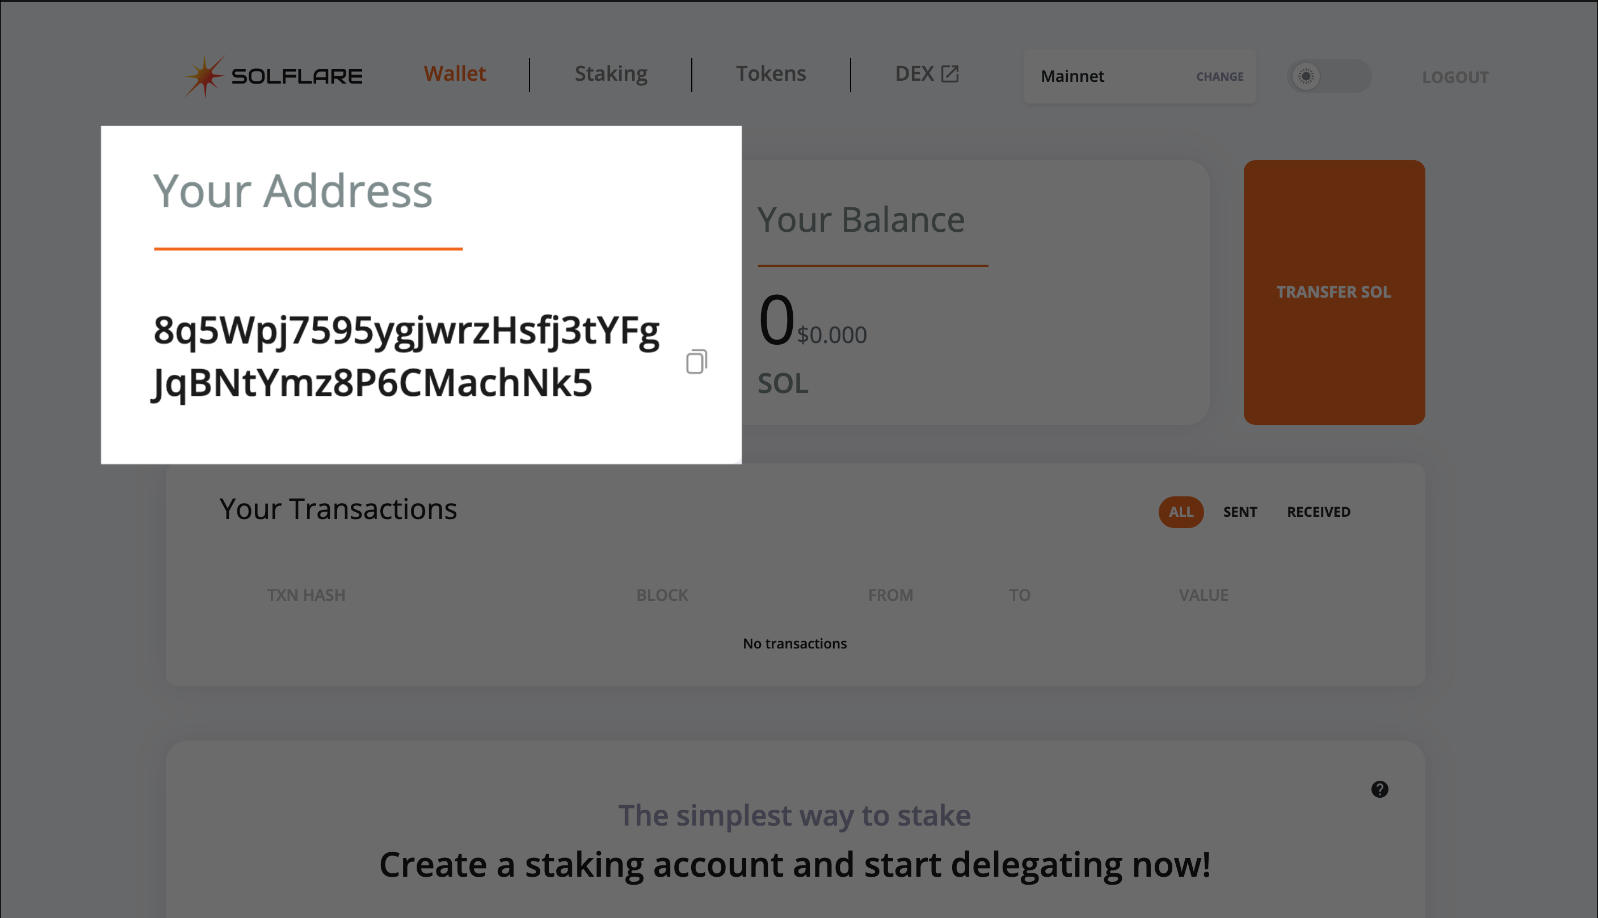
7. Now you have an address where you can send SOL tokens and get ready to stake.
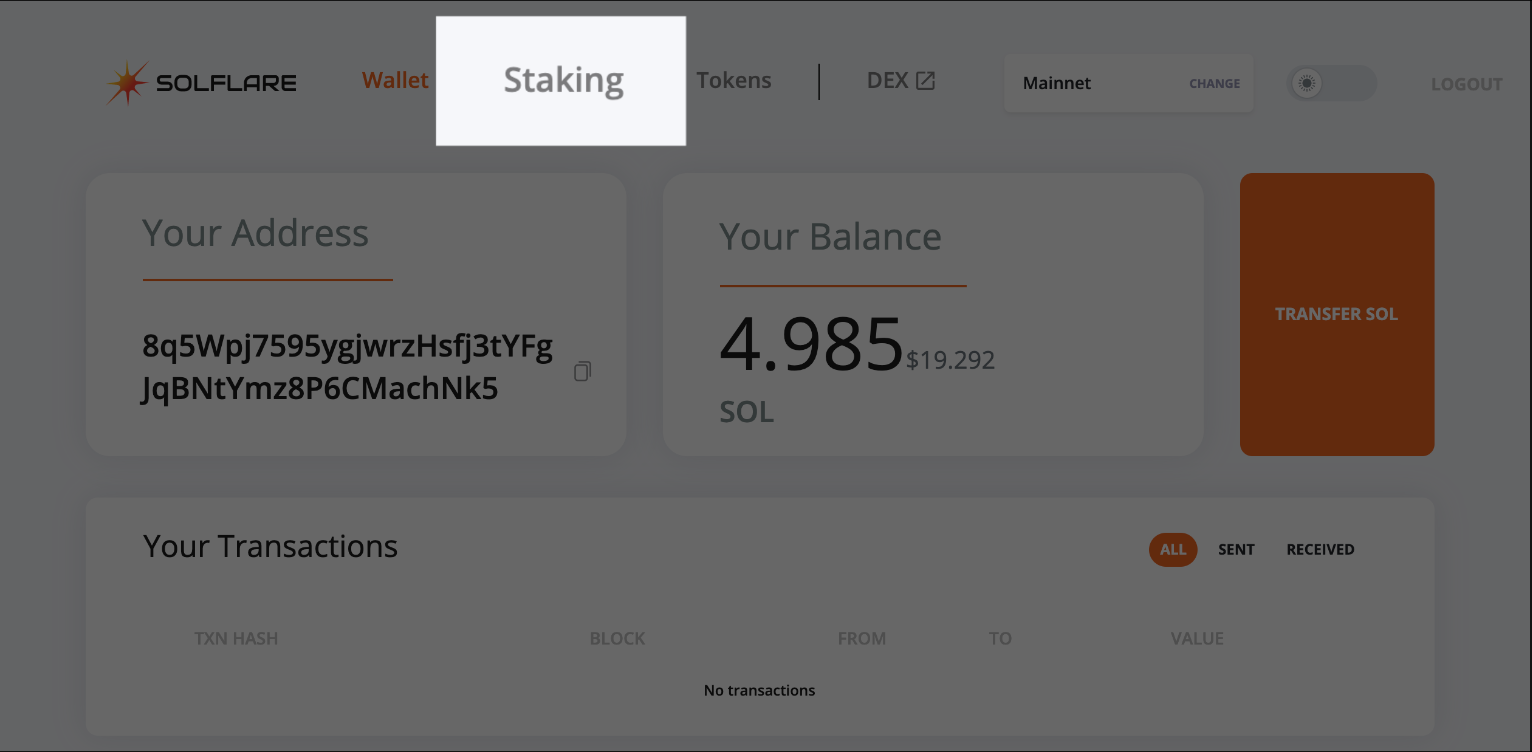
8. After depositing funds in your wallet, click on staking.
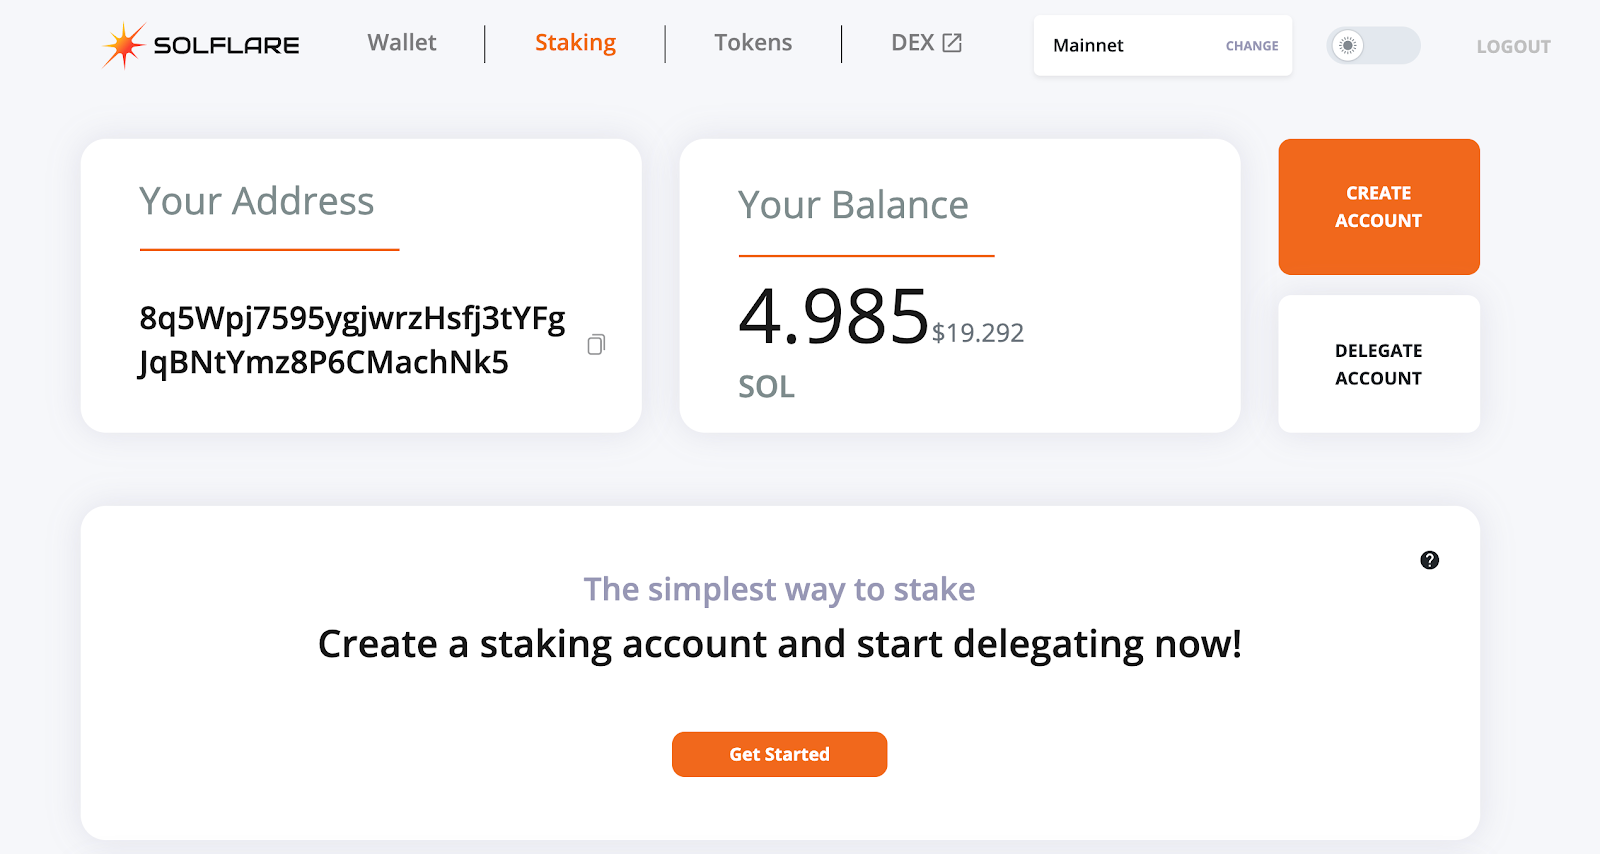
9. Now you can click on “create account” and get started.
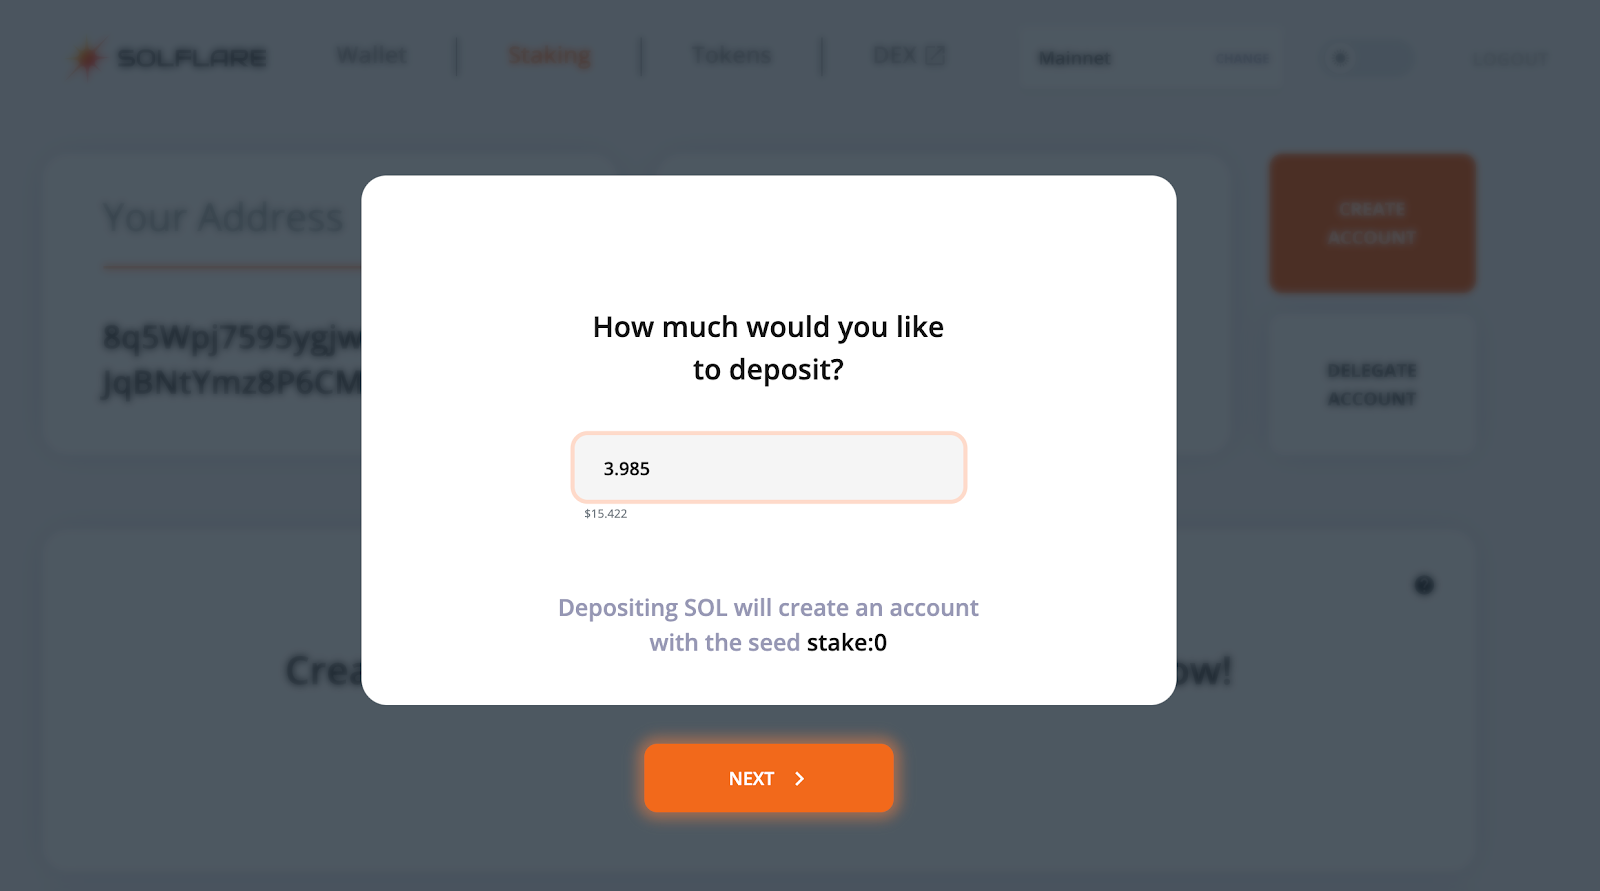
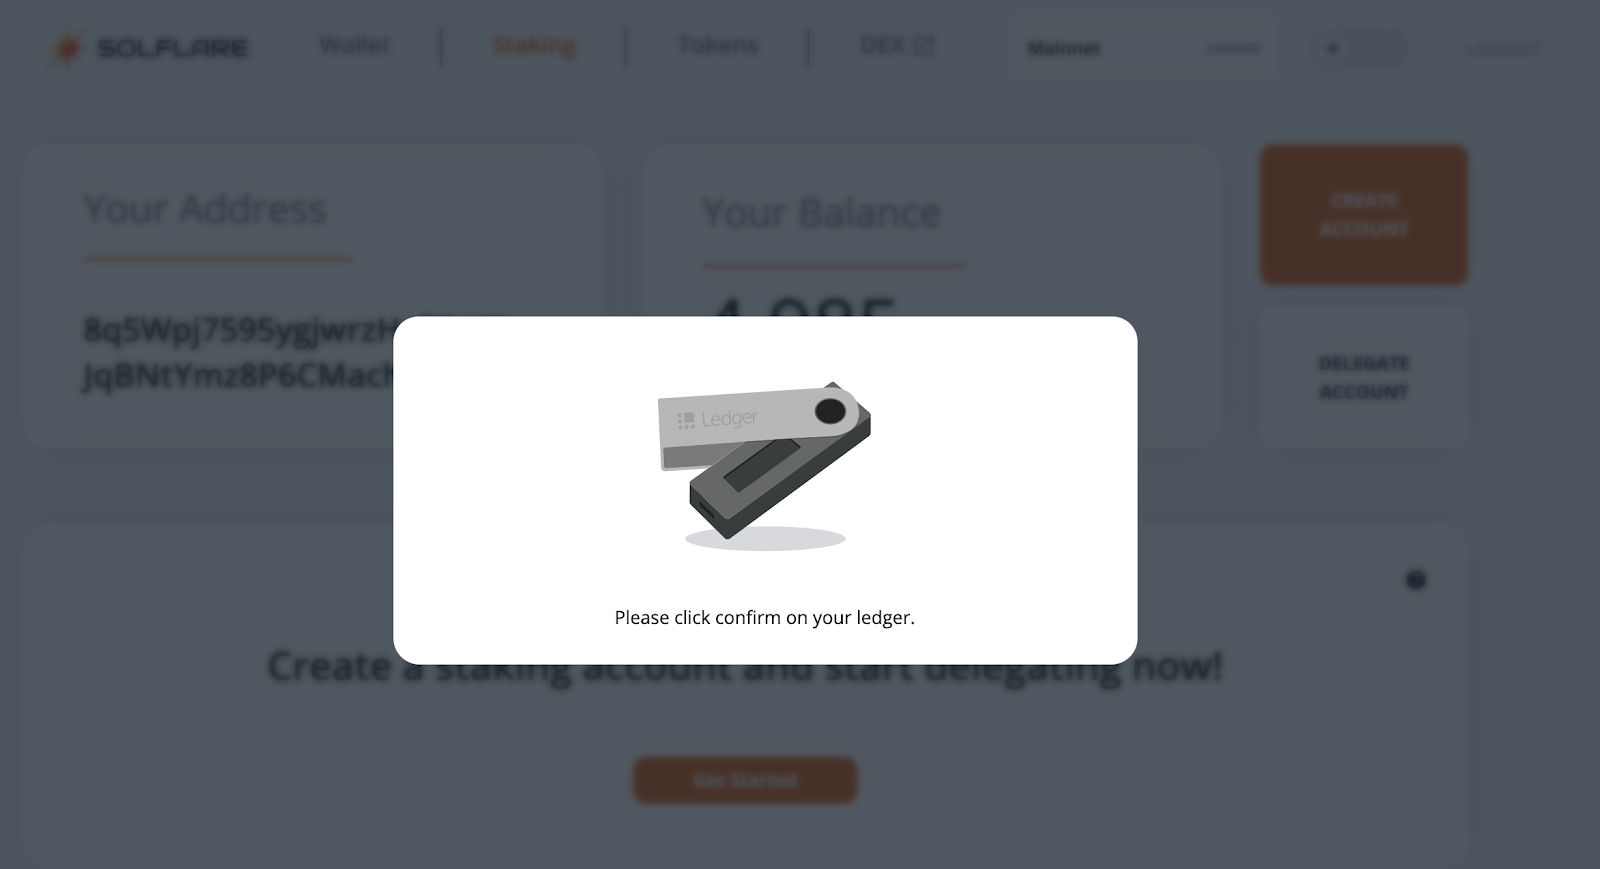
10. Consider leaving at least 1 SOL token in your wallet since you still need to pay for transactions then click "next" and confirm on your device.
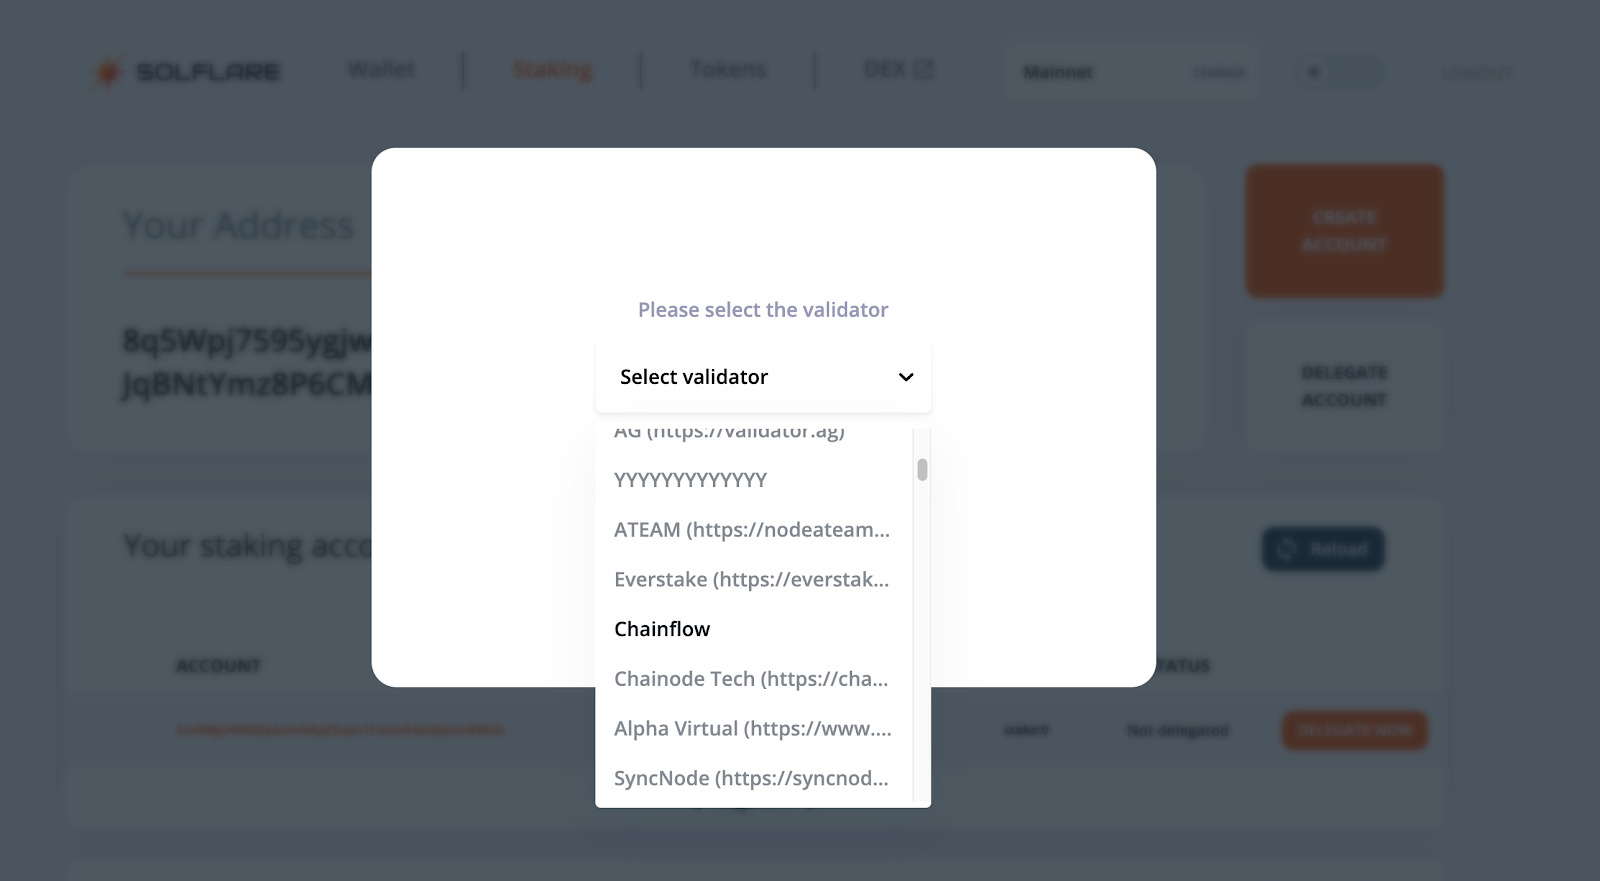
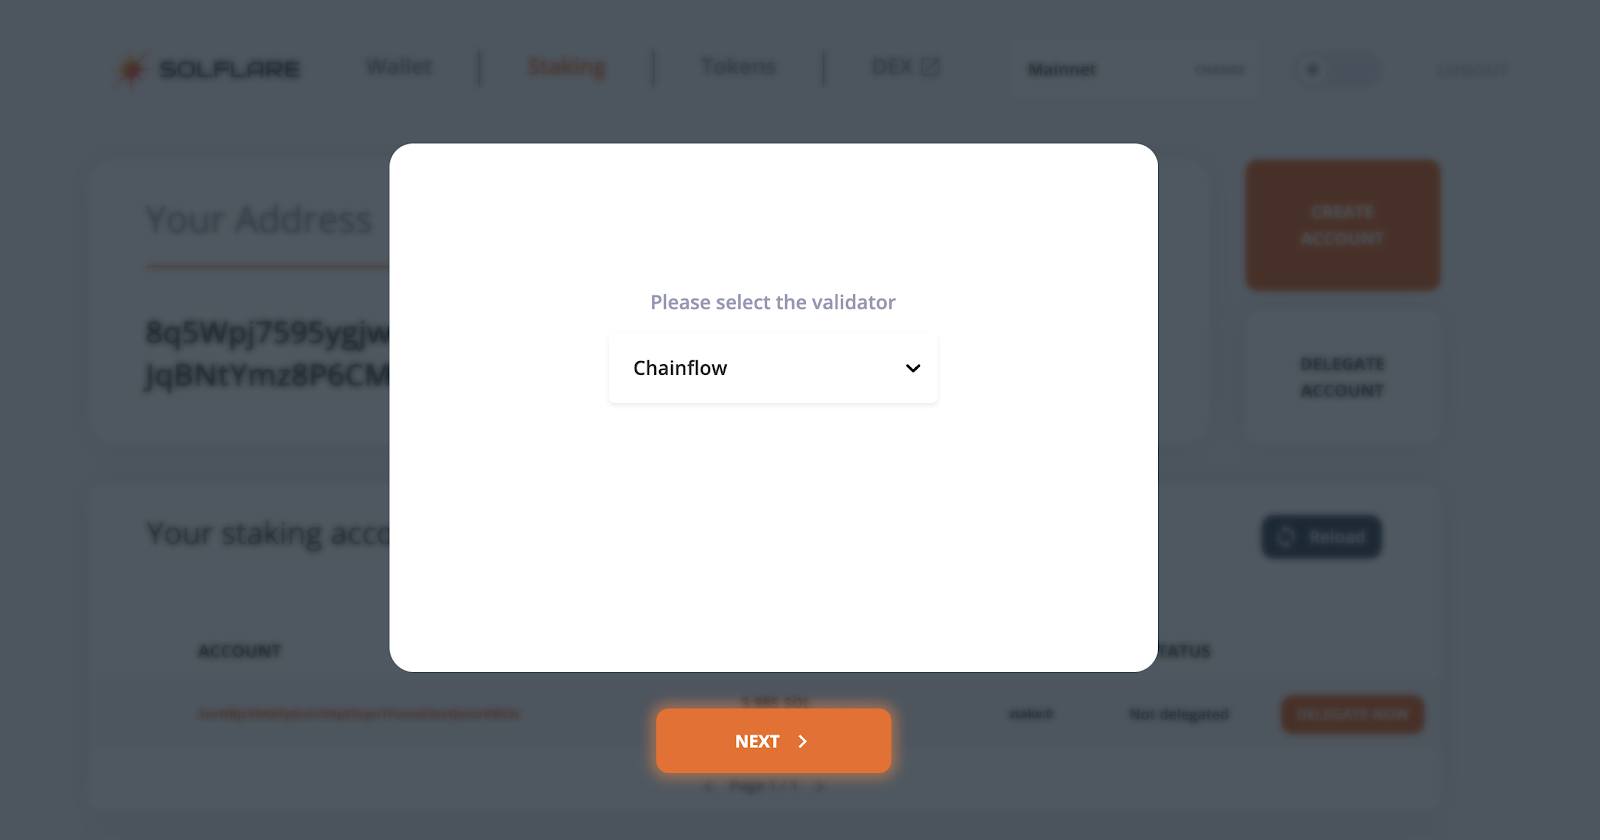
11. Now click on “delegate”, select your validator and click next.
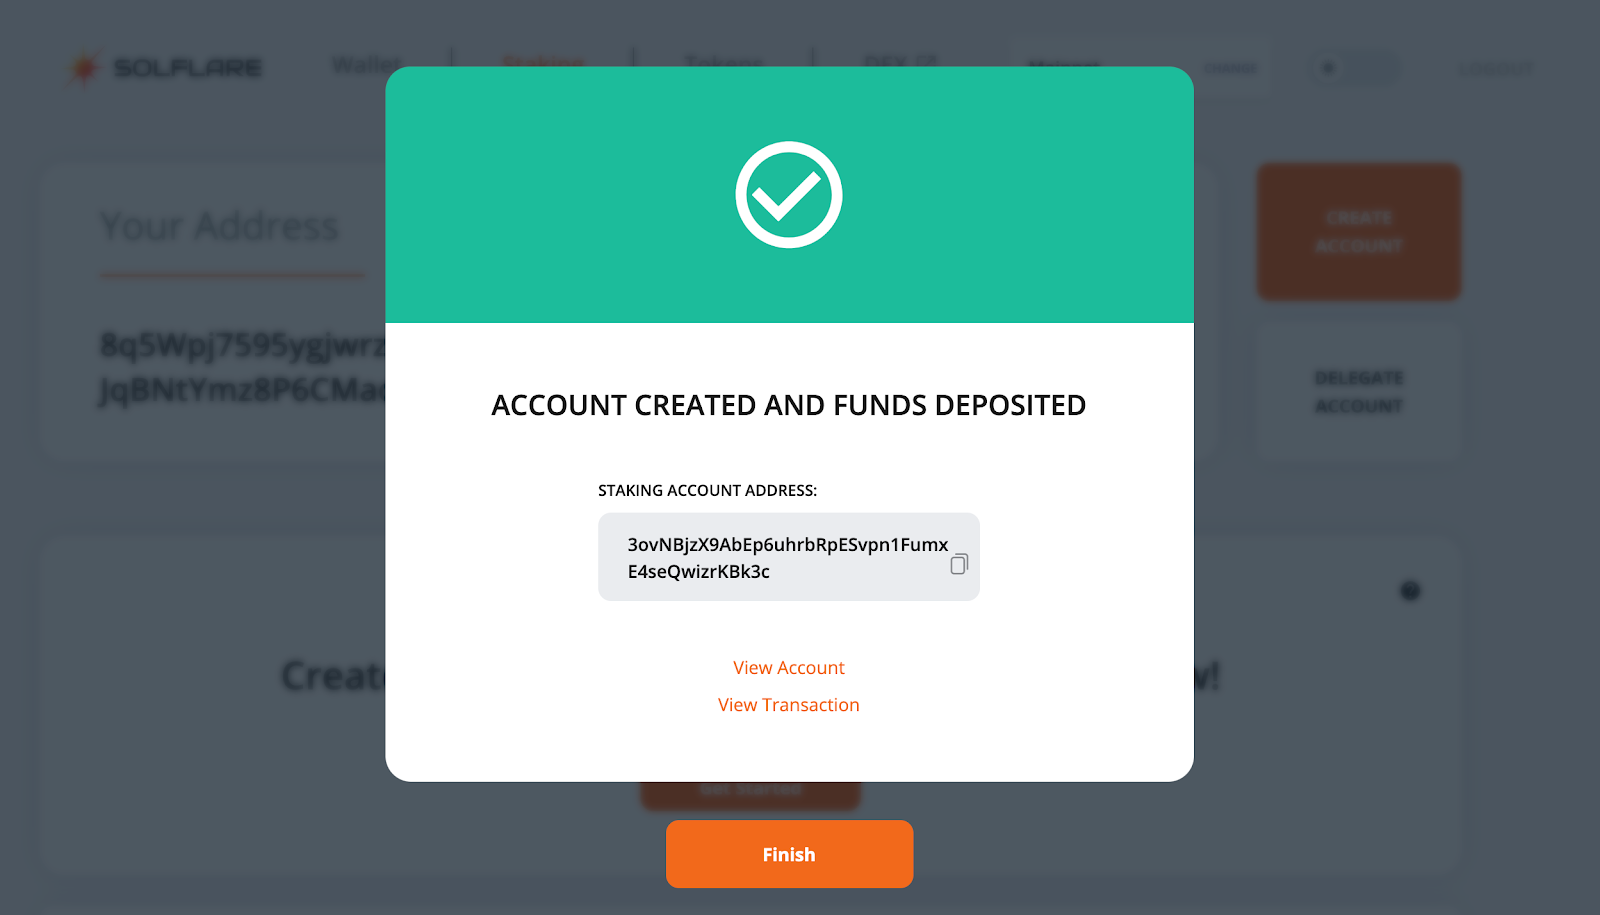
12. Confirm the transaction on your device.

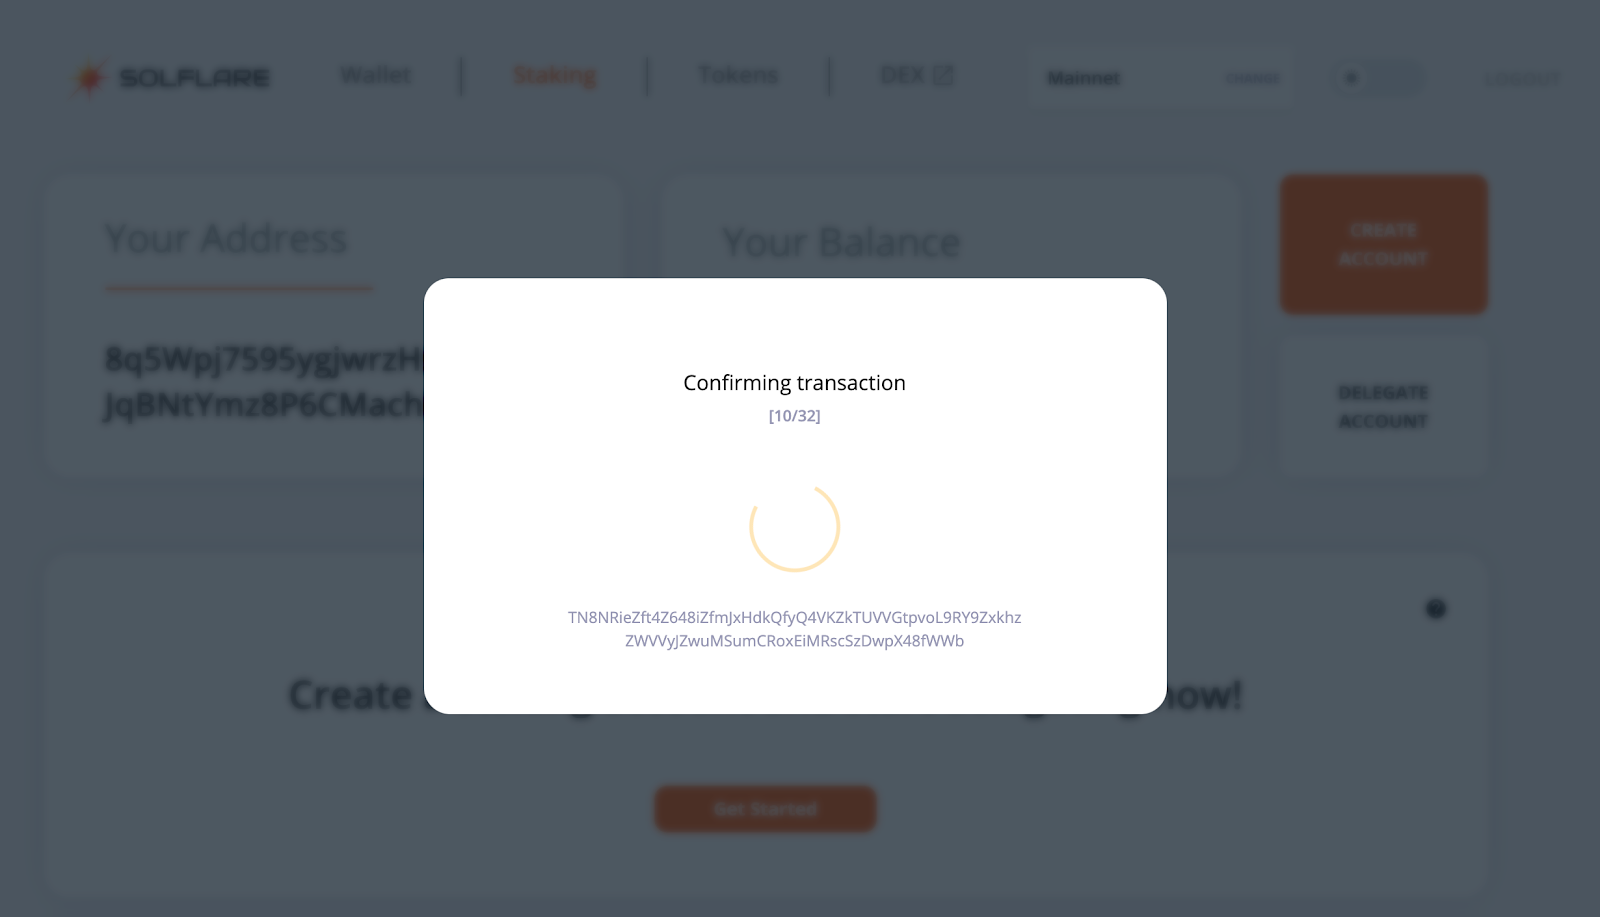
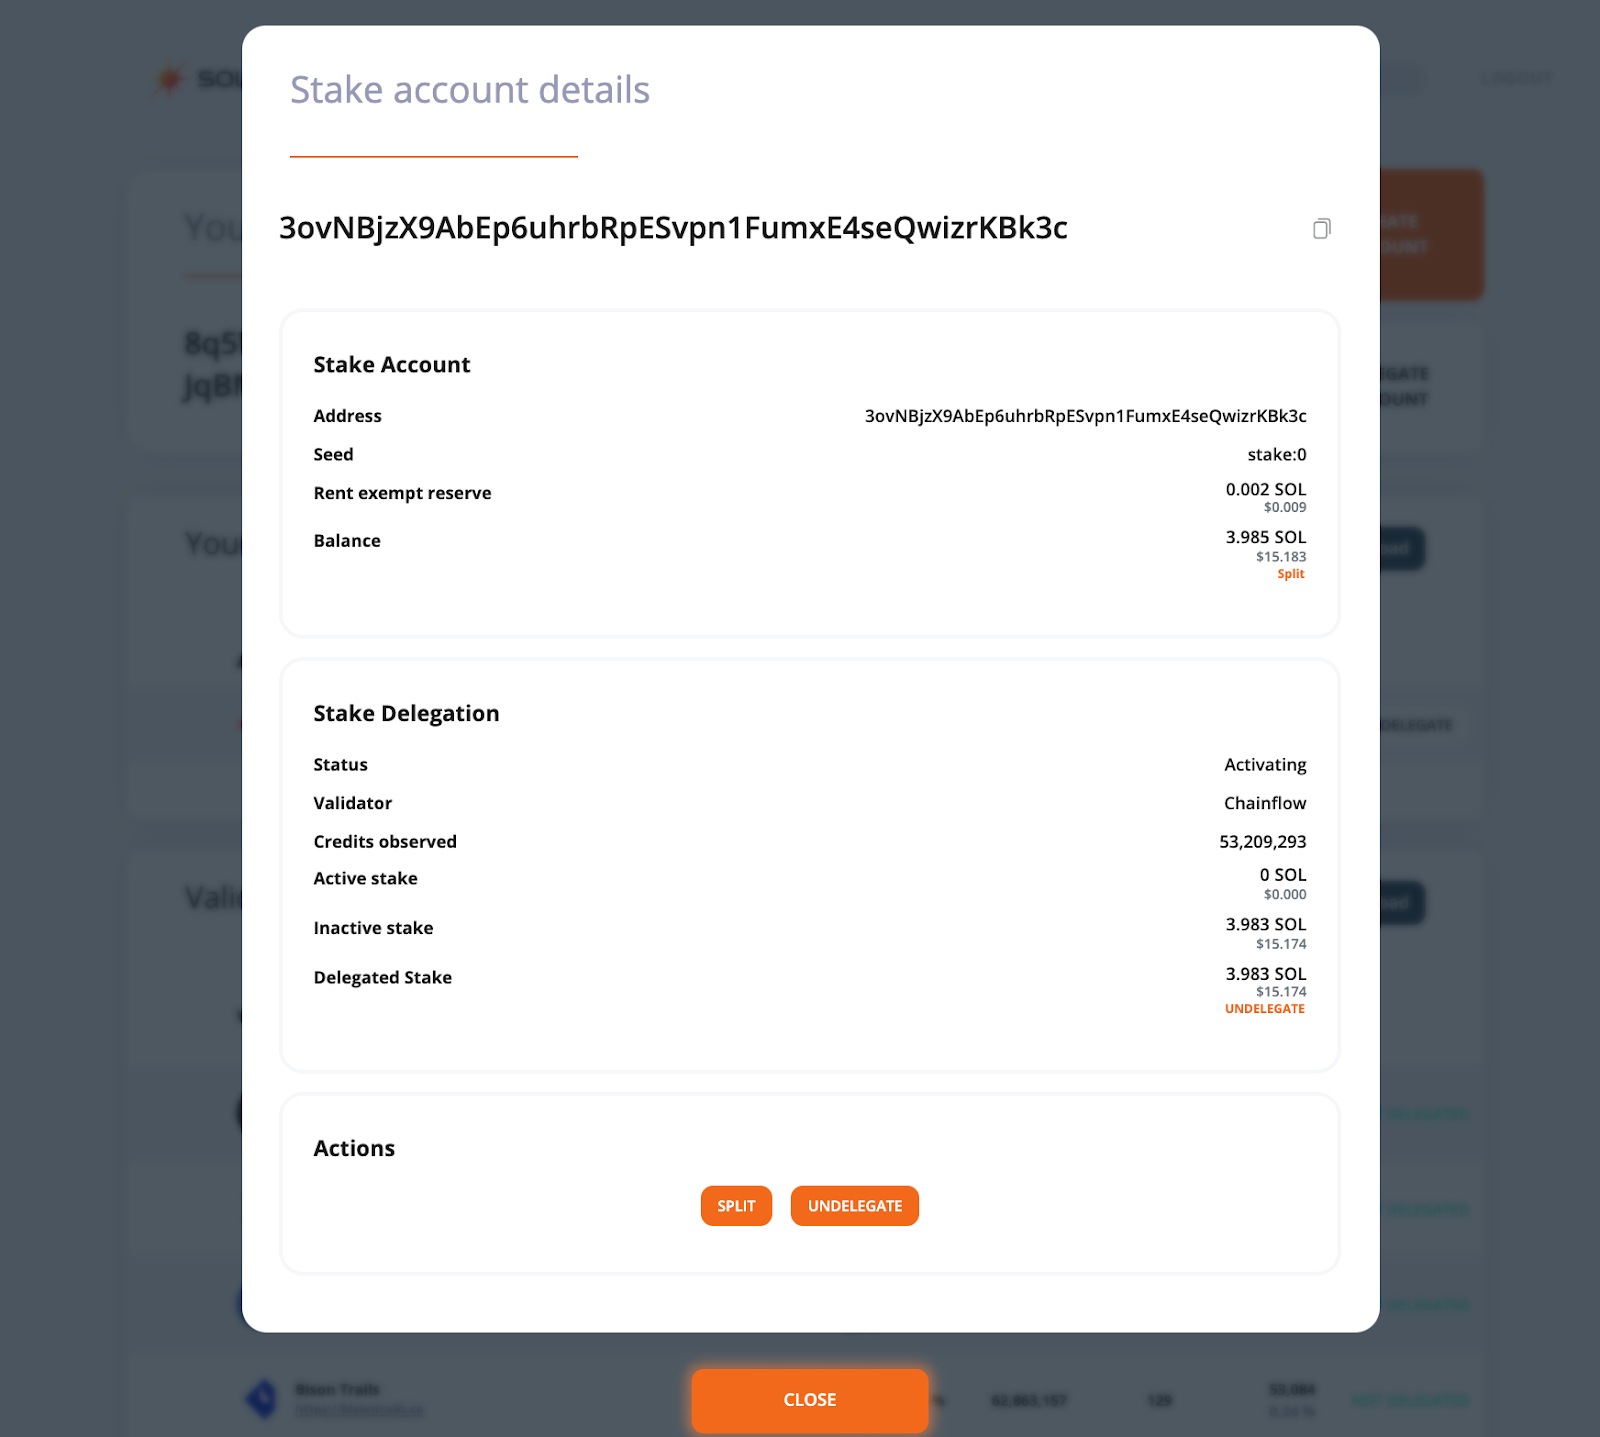
13. After the transaction has been confirmed you are all set and you are participating as a delegator in the Solana Network.
Still have questions on how to delegate? Come to our Telegram group/Twitter and feel free to drop any questions.
We'll be happy to to assist you.